PyCharm - setting up the development environment
Installing and configuring the PyCharm Environment
PyCharm environment can be used during the course if desired. However, its usage is completely optional but makes programming extensions easier. Let's start by installing PyCharm Community Edition from https://www.jetbrains.com/pycharm/download/.
After installing the PyCharm software, proceed by creating a new project in the PyCharm environment.
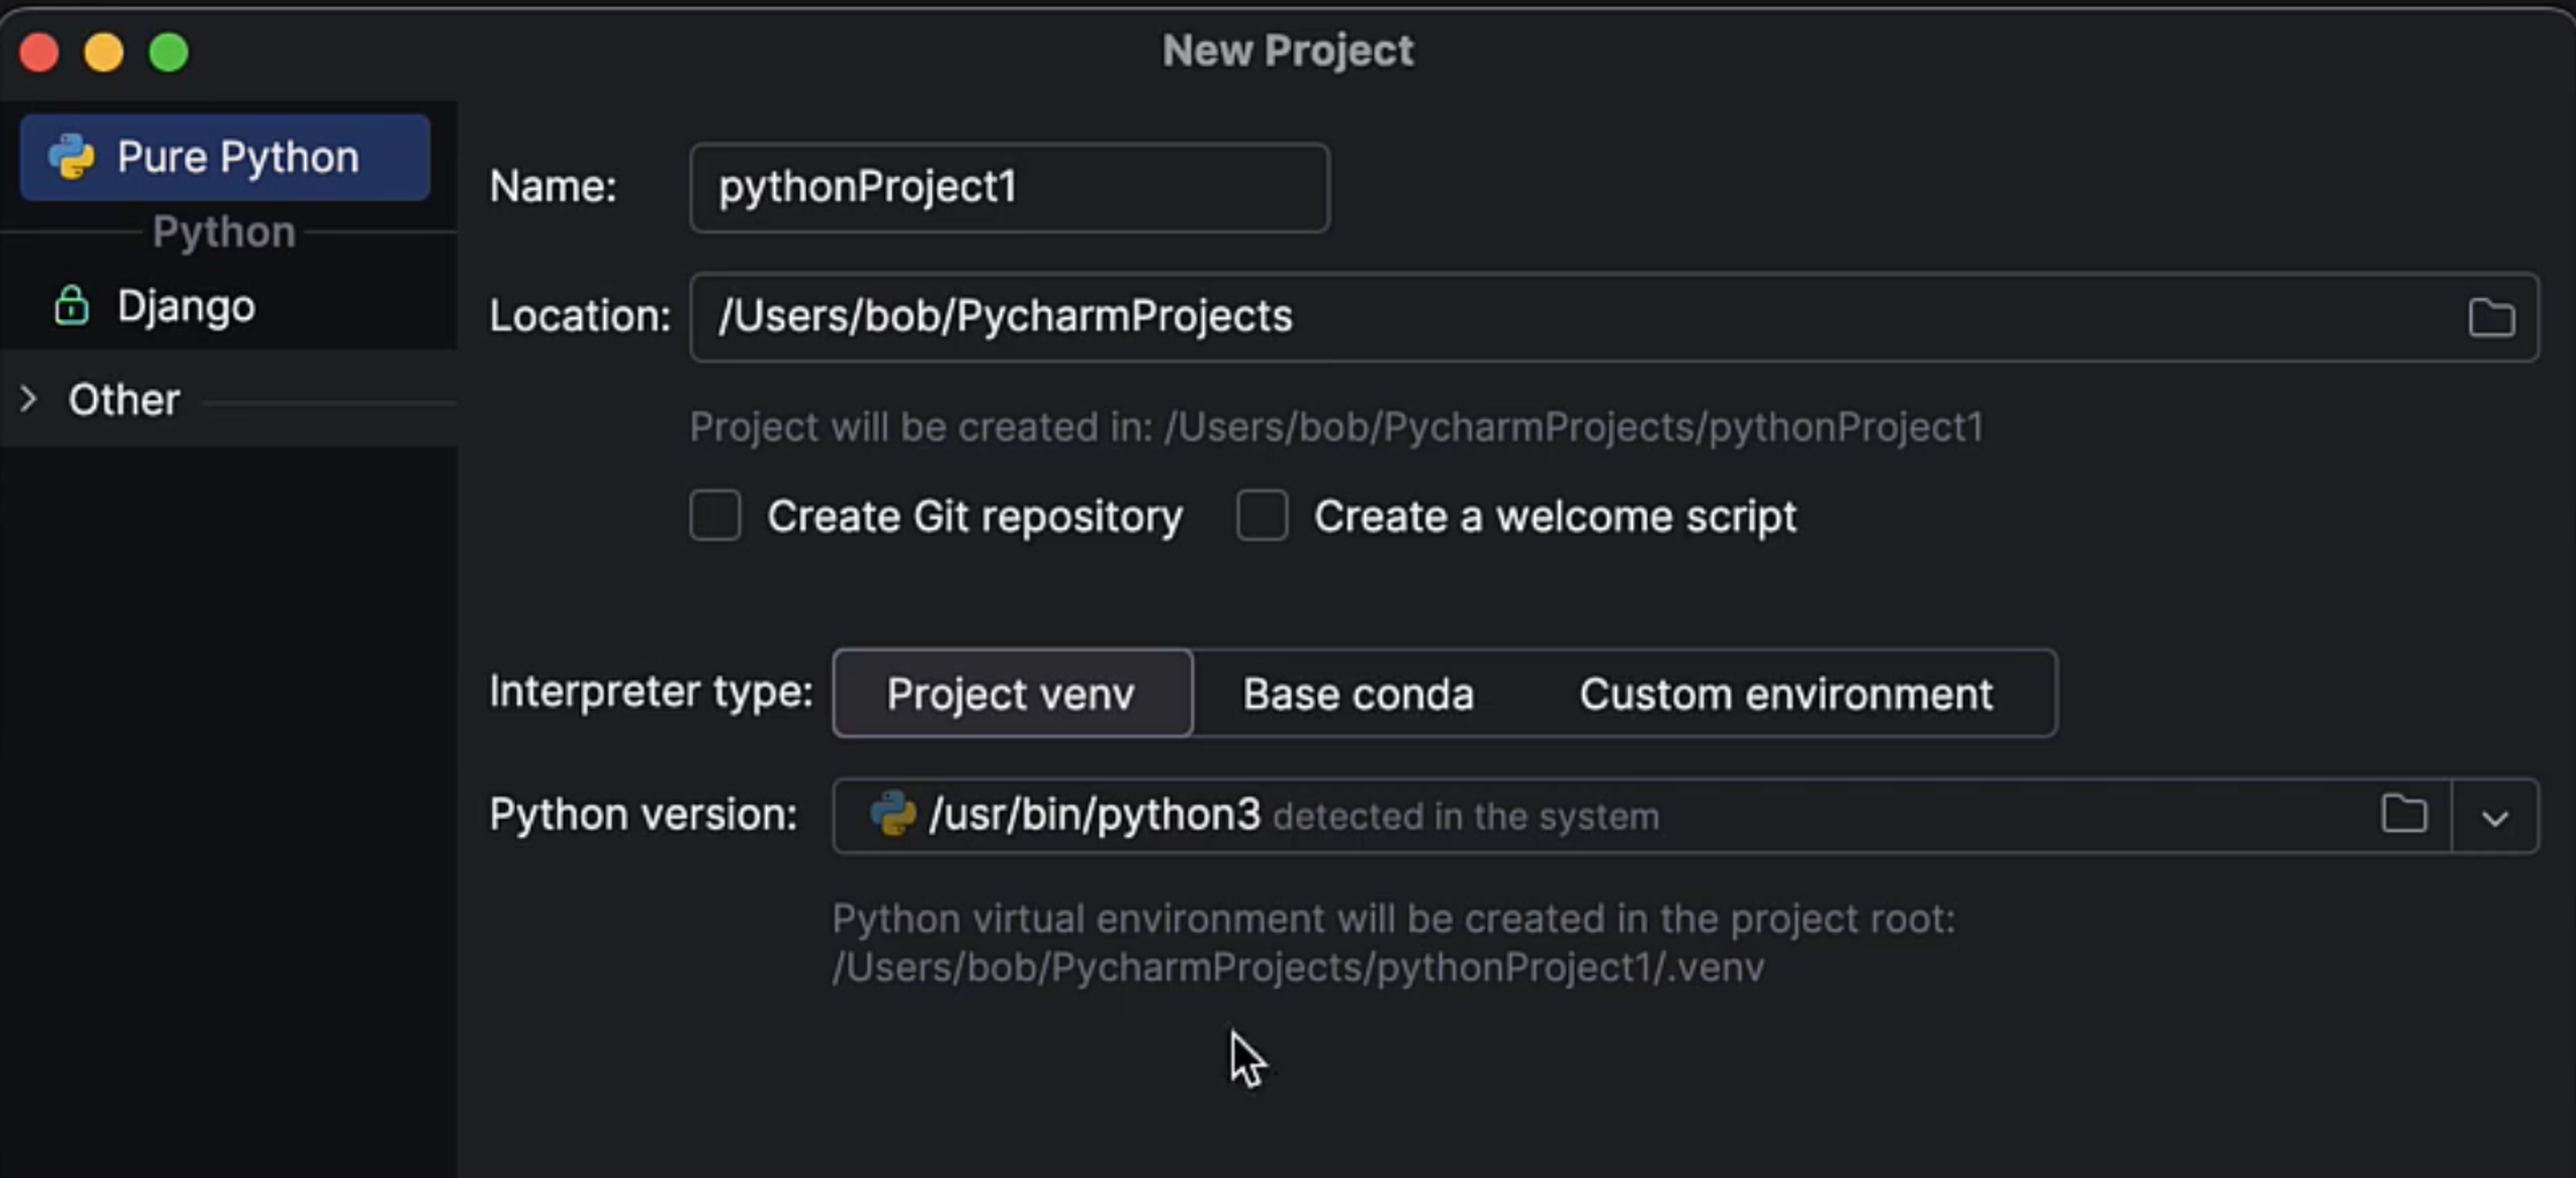
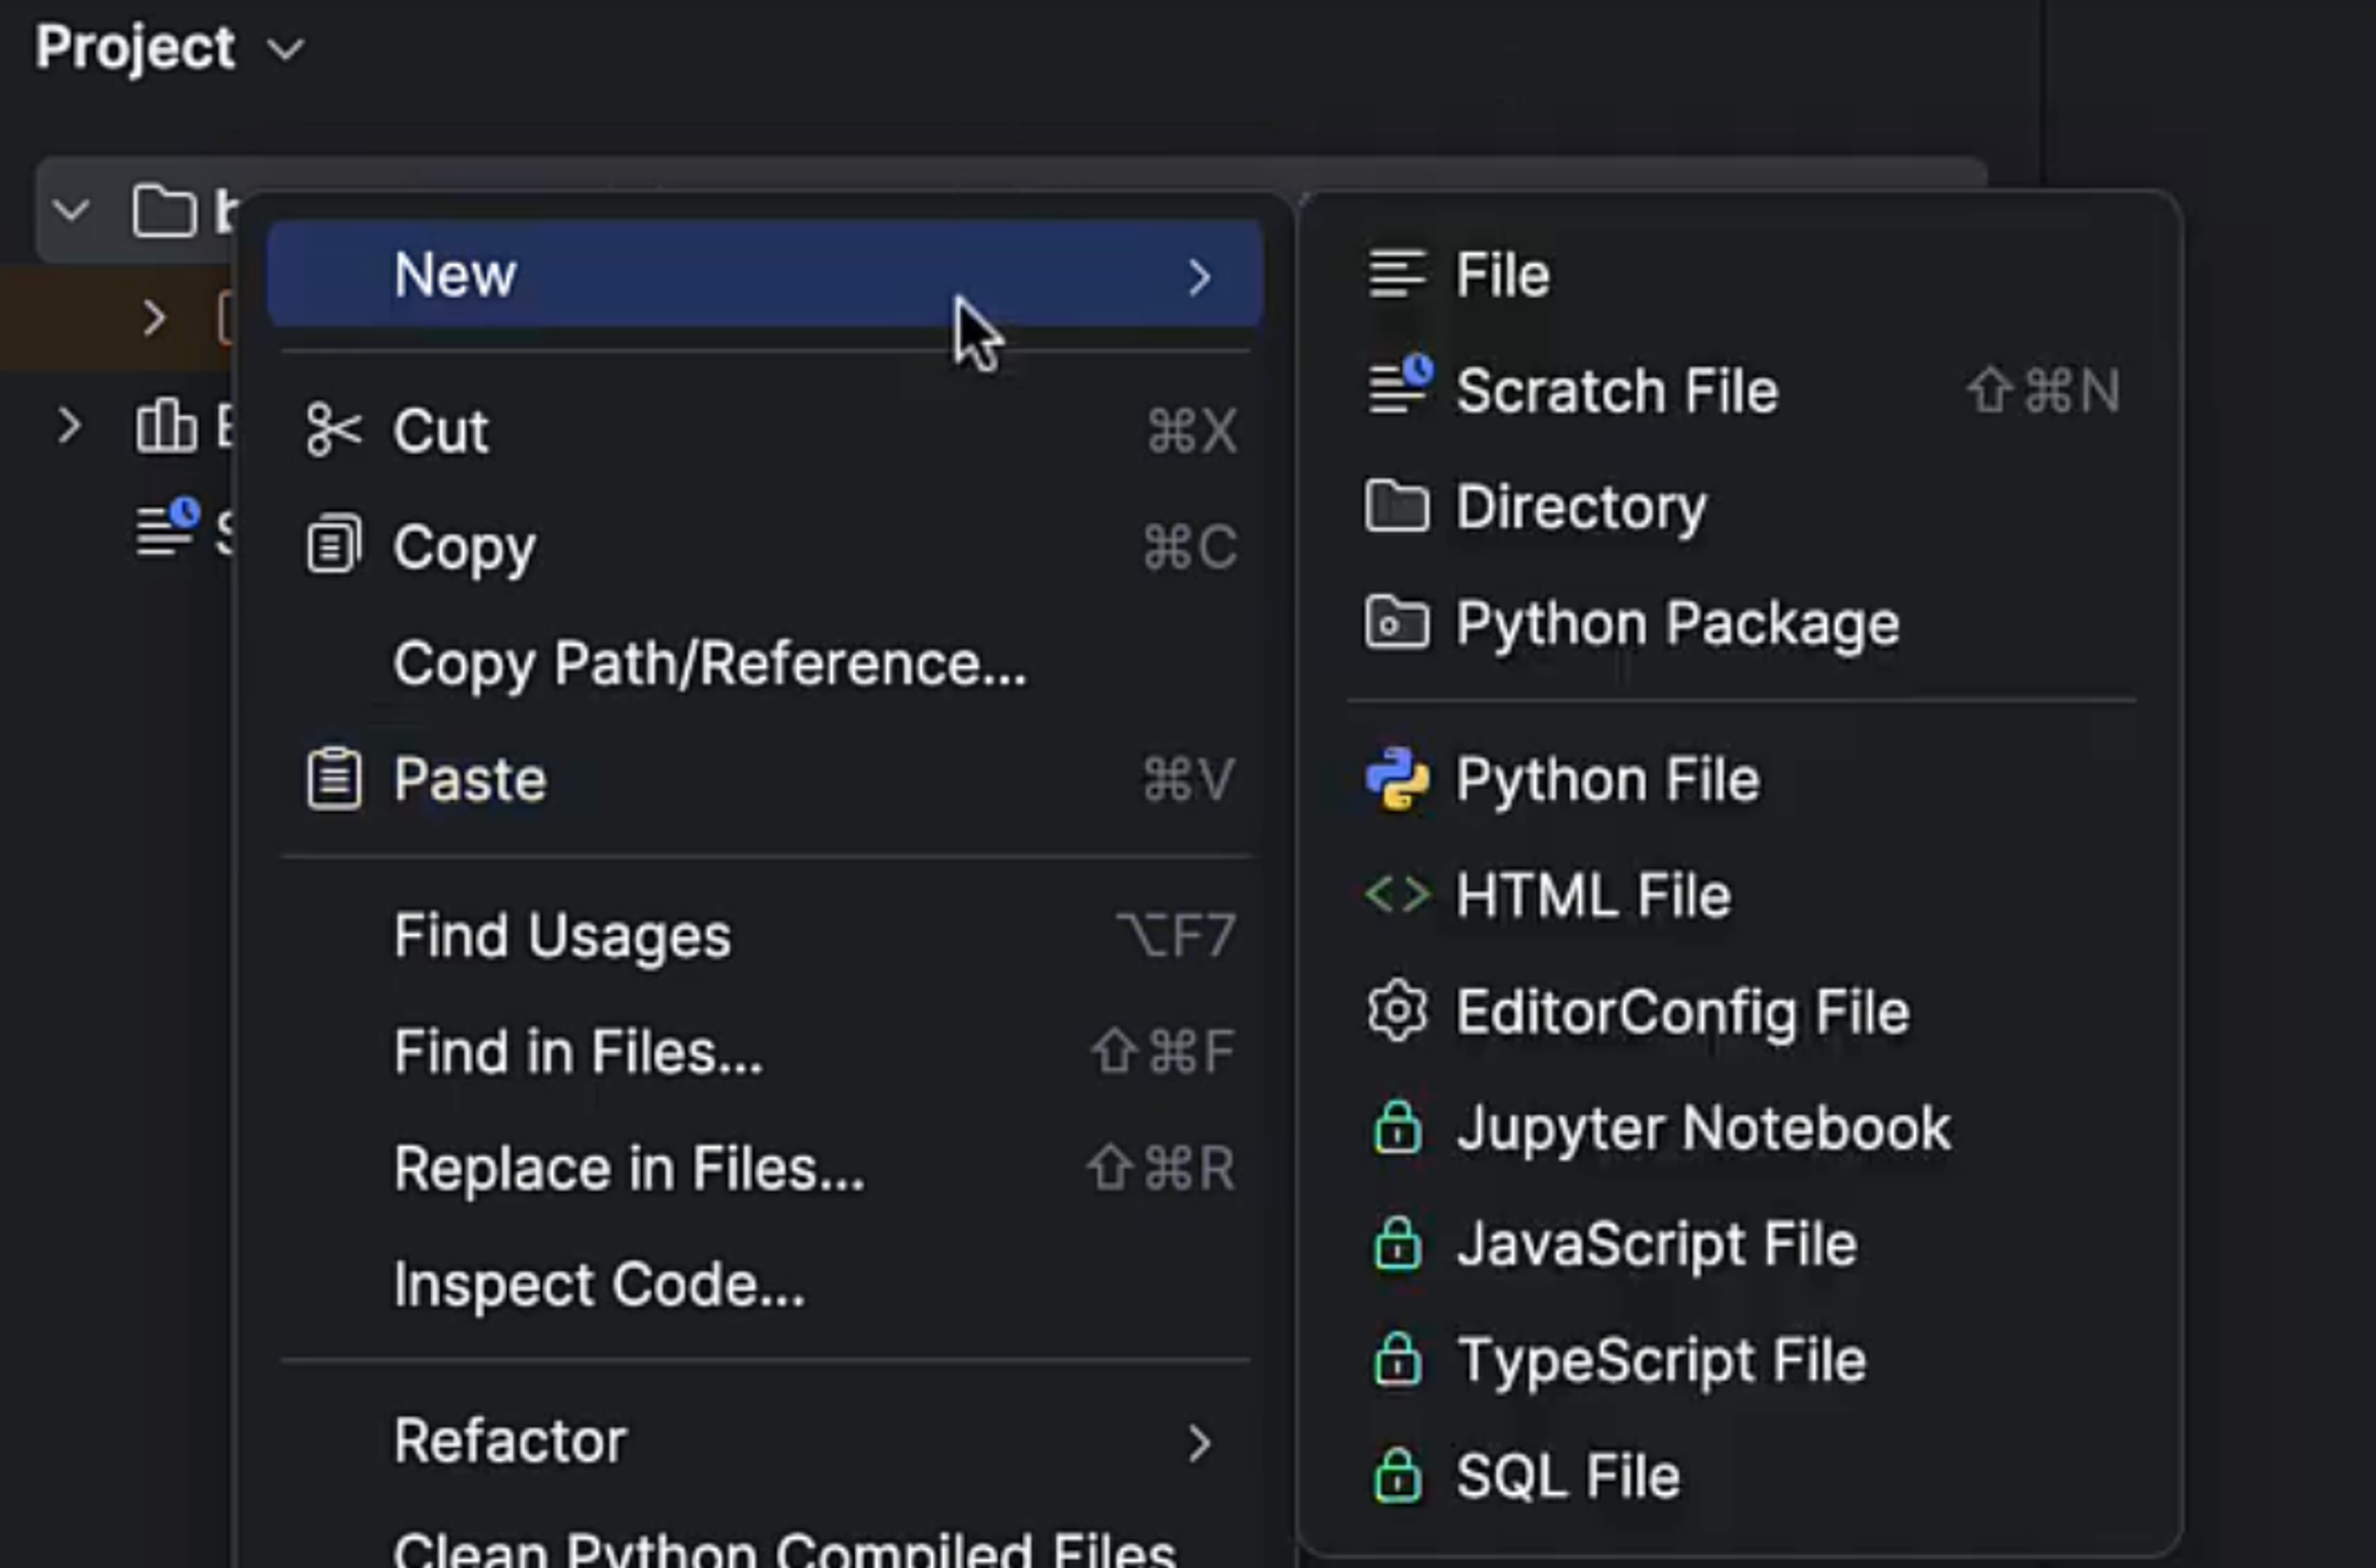
You can give the project any name you want, but leave the other default settings. When the new project opens, proceed by creating a new Python file in the project. You can do this, for example, by right-clicking on the project tree and selecting New -> Python File.
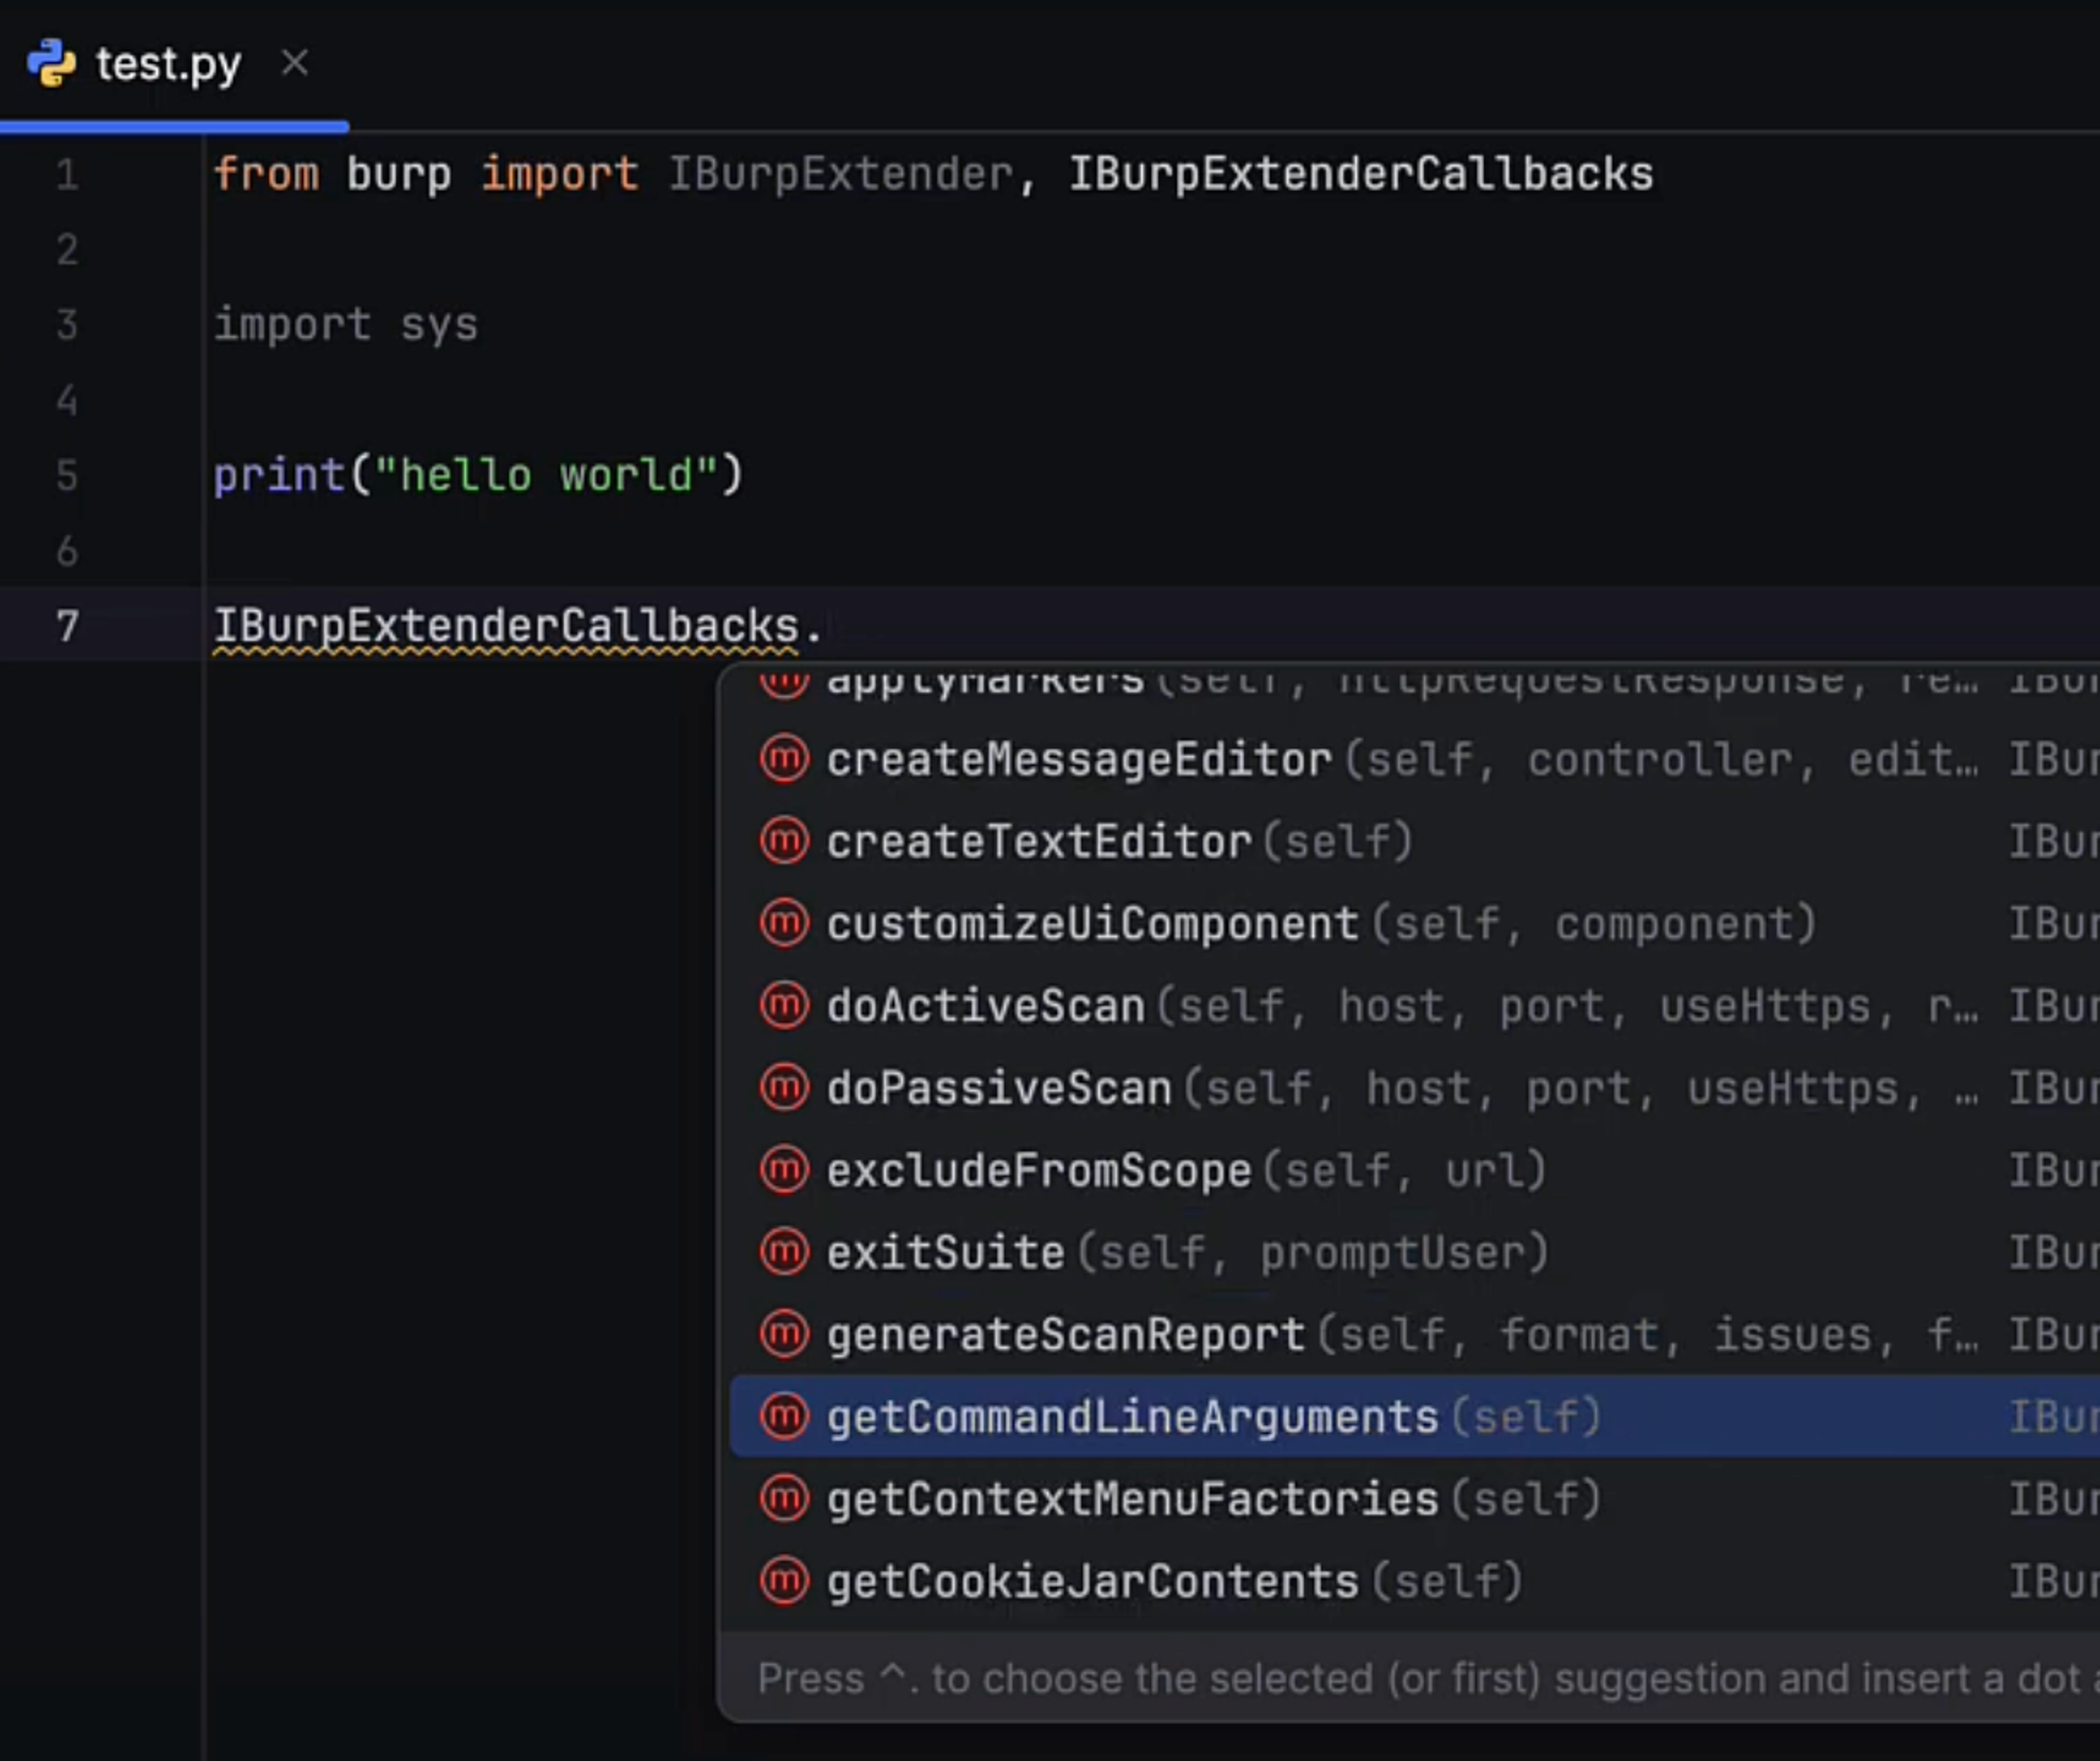
Next, configure the environment to understand the types of BurpSuite plugin interfaces, which greatly simplifies and enhances the coding experience.
Clone the git repository from https://github.com/hakatemia/burp somewhere, for example, to the ~/git directory.
1mkdir ~/git
2cd ~/git
3git clone [email protected]:hakatemia/burp.git
Next, install the Burp package from the repository:
1cd ~/git/burp
2python3 -m pip install setuptools
3python3 setup.py install
This should be enough. Finally, you can confirm that the project is configured correctly by trying the following code. If the environment returns an error, something is wrong.
1from burp import IBurpExtenderThe environment should now also be able to provide you with methods/functions.
Learn to hack — start here
Hundreds of interactive courses, virtual labs and CTF challenges in your browser. Start a free trial — no card required.