IntelliJ - Setting up development environment (Montoya API + Java)
At the end of the course
At the end of the course, we will go through a more recent solution for building extensions for BurpSuite. Nowadays, BurpSuite encourages a different approach called Montoya API. In this module, we focus on setting up the IntelliJ IDEA environment, where we will build the same login handling logic in the following module. One downside of this "newer" approach is that the developer must write the extensions in Java, for the Jython/Python approach no longer works. So if Java feels difficult, the upcoming modules may prove challenging.
Installation and testing of IntelliJ IDEA software
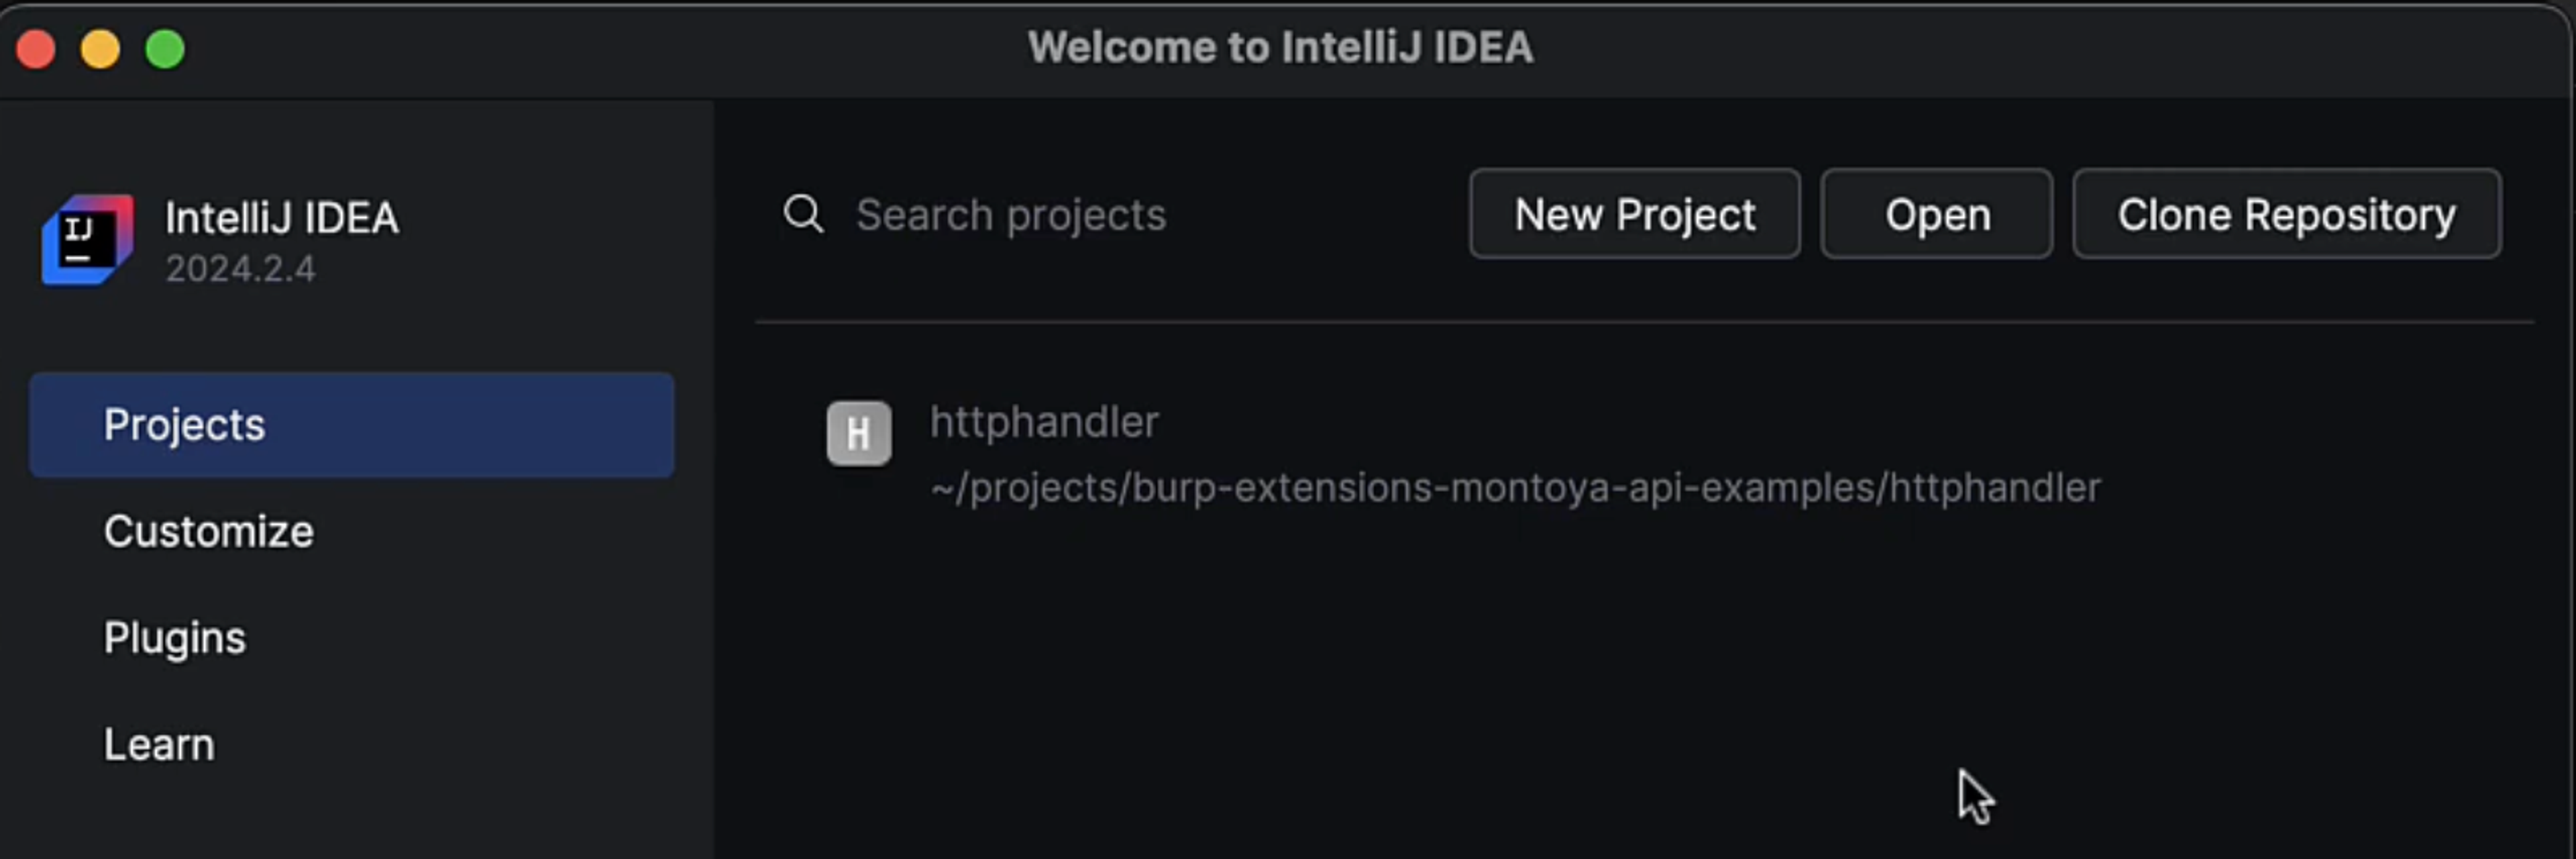
However, let's start by setting up the environment, similar to the first module of the course where we installed PyCharm software. Now, let's install IntelliJ, which you can find here. After you have installed this software, proceed to download the example repository from Portswigger on Github, which you can find here. Next, open the httphandler project in the IDEA environment, located in the downloaded example repository.
Compiling the extension
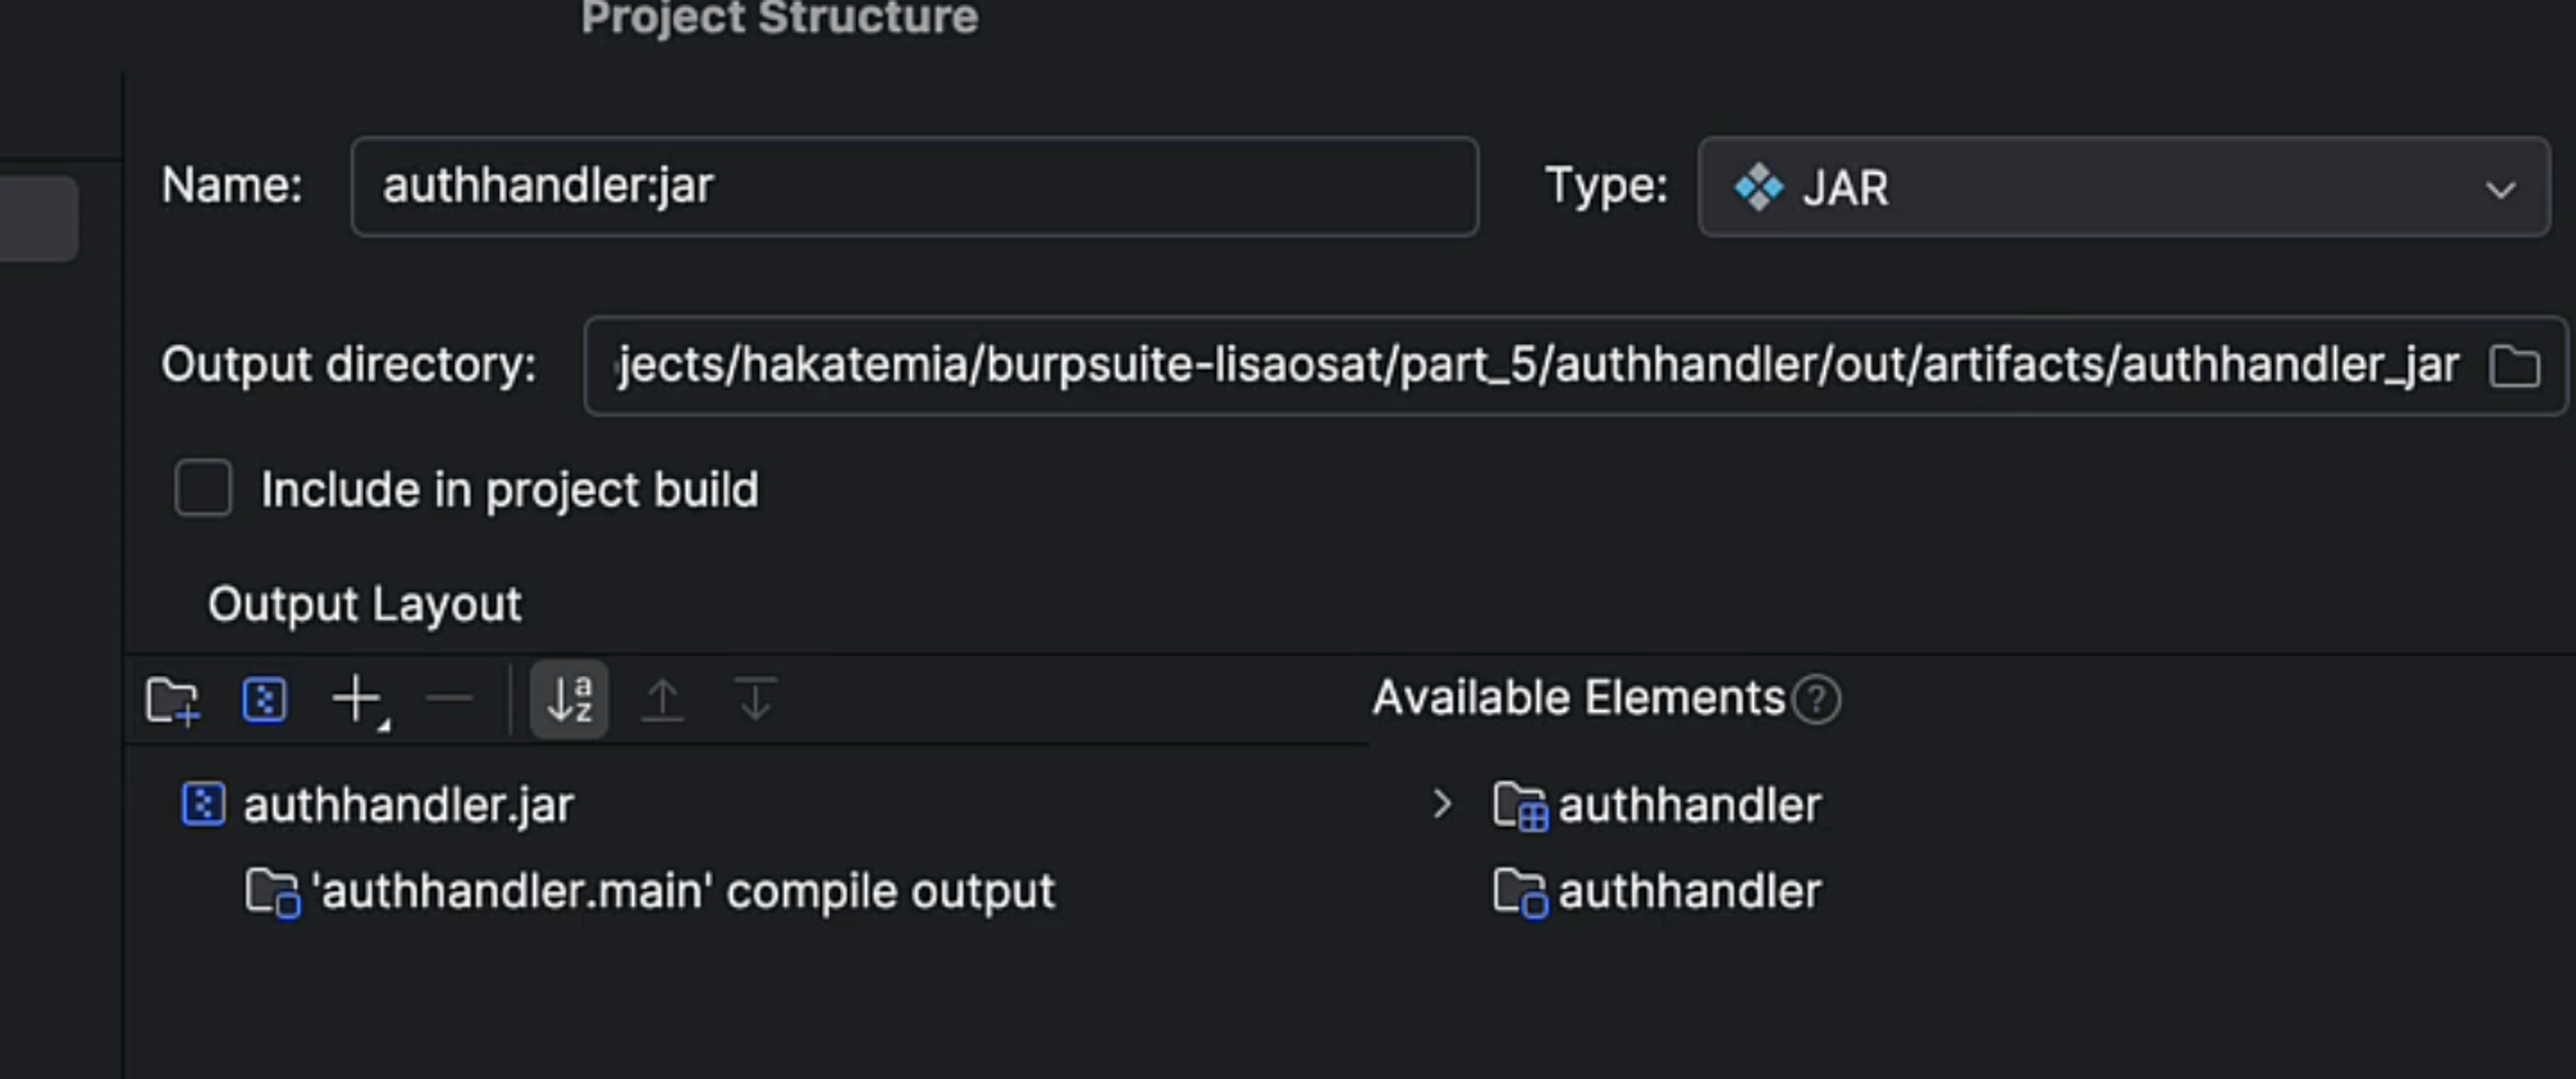
Next, navigate through the gear icon in the upper right corner -> Artifacts -> plus sign -> JAR -> From modules with dependencies. Leave the default settings and click OK.
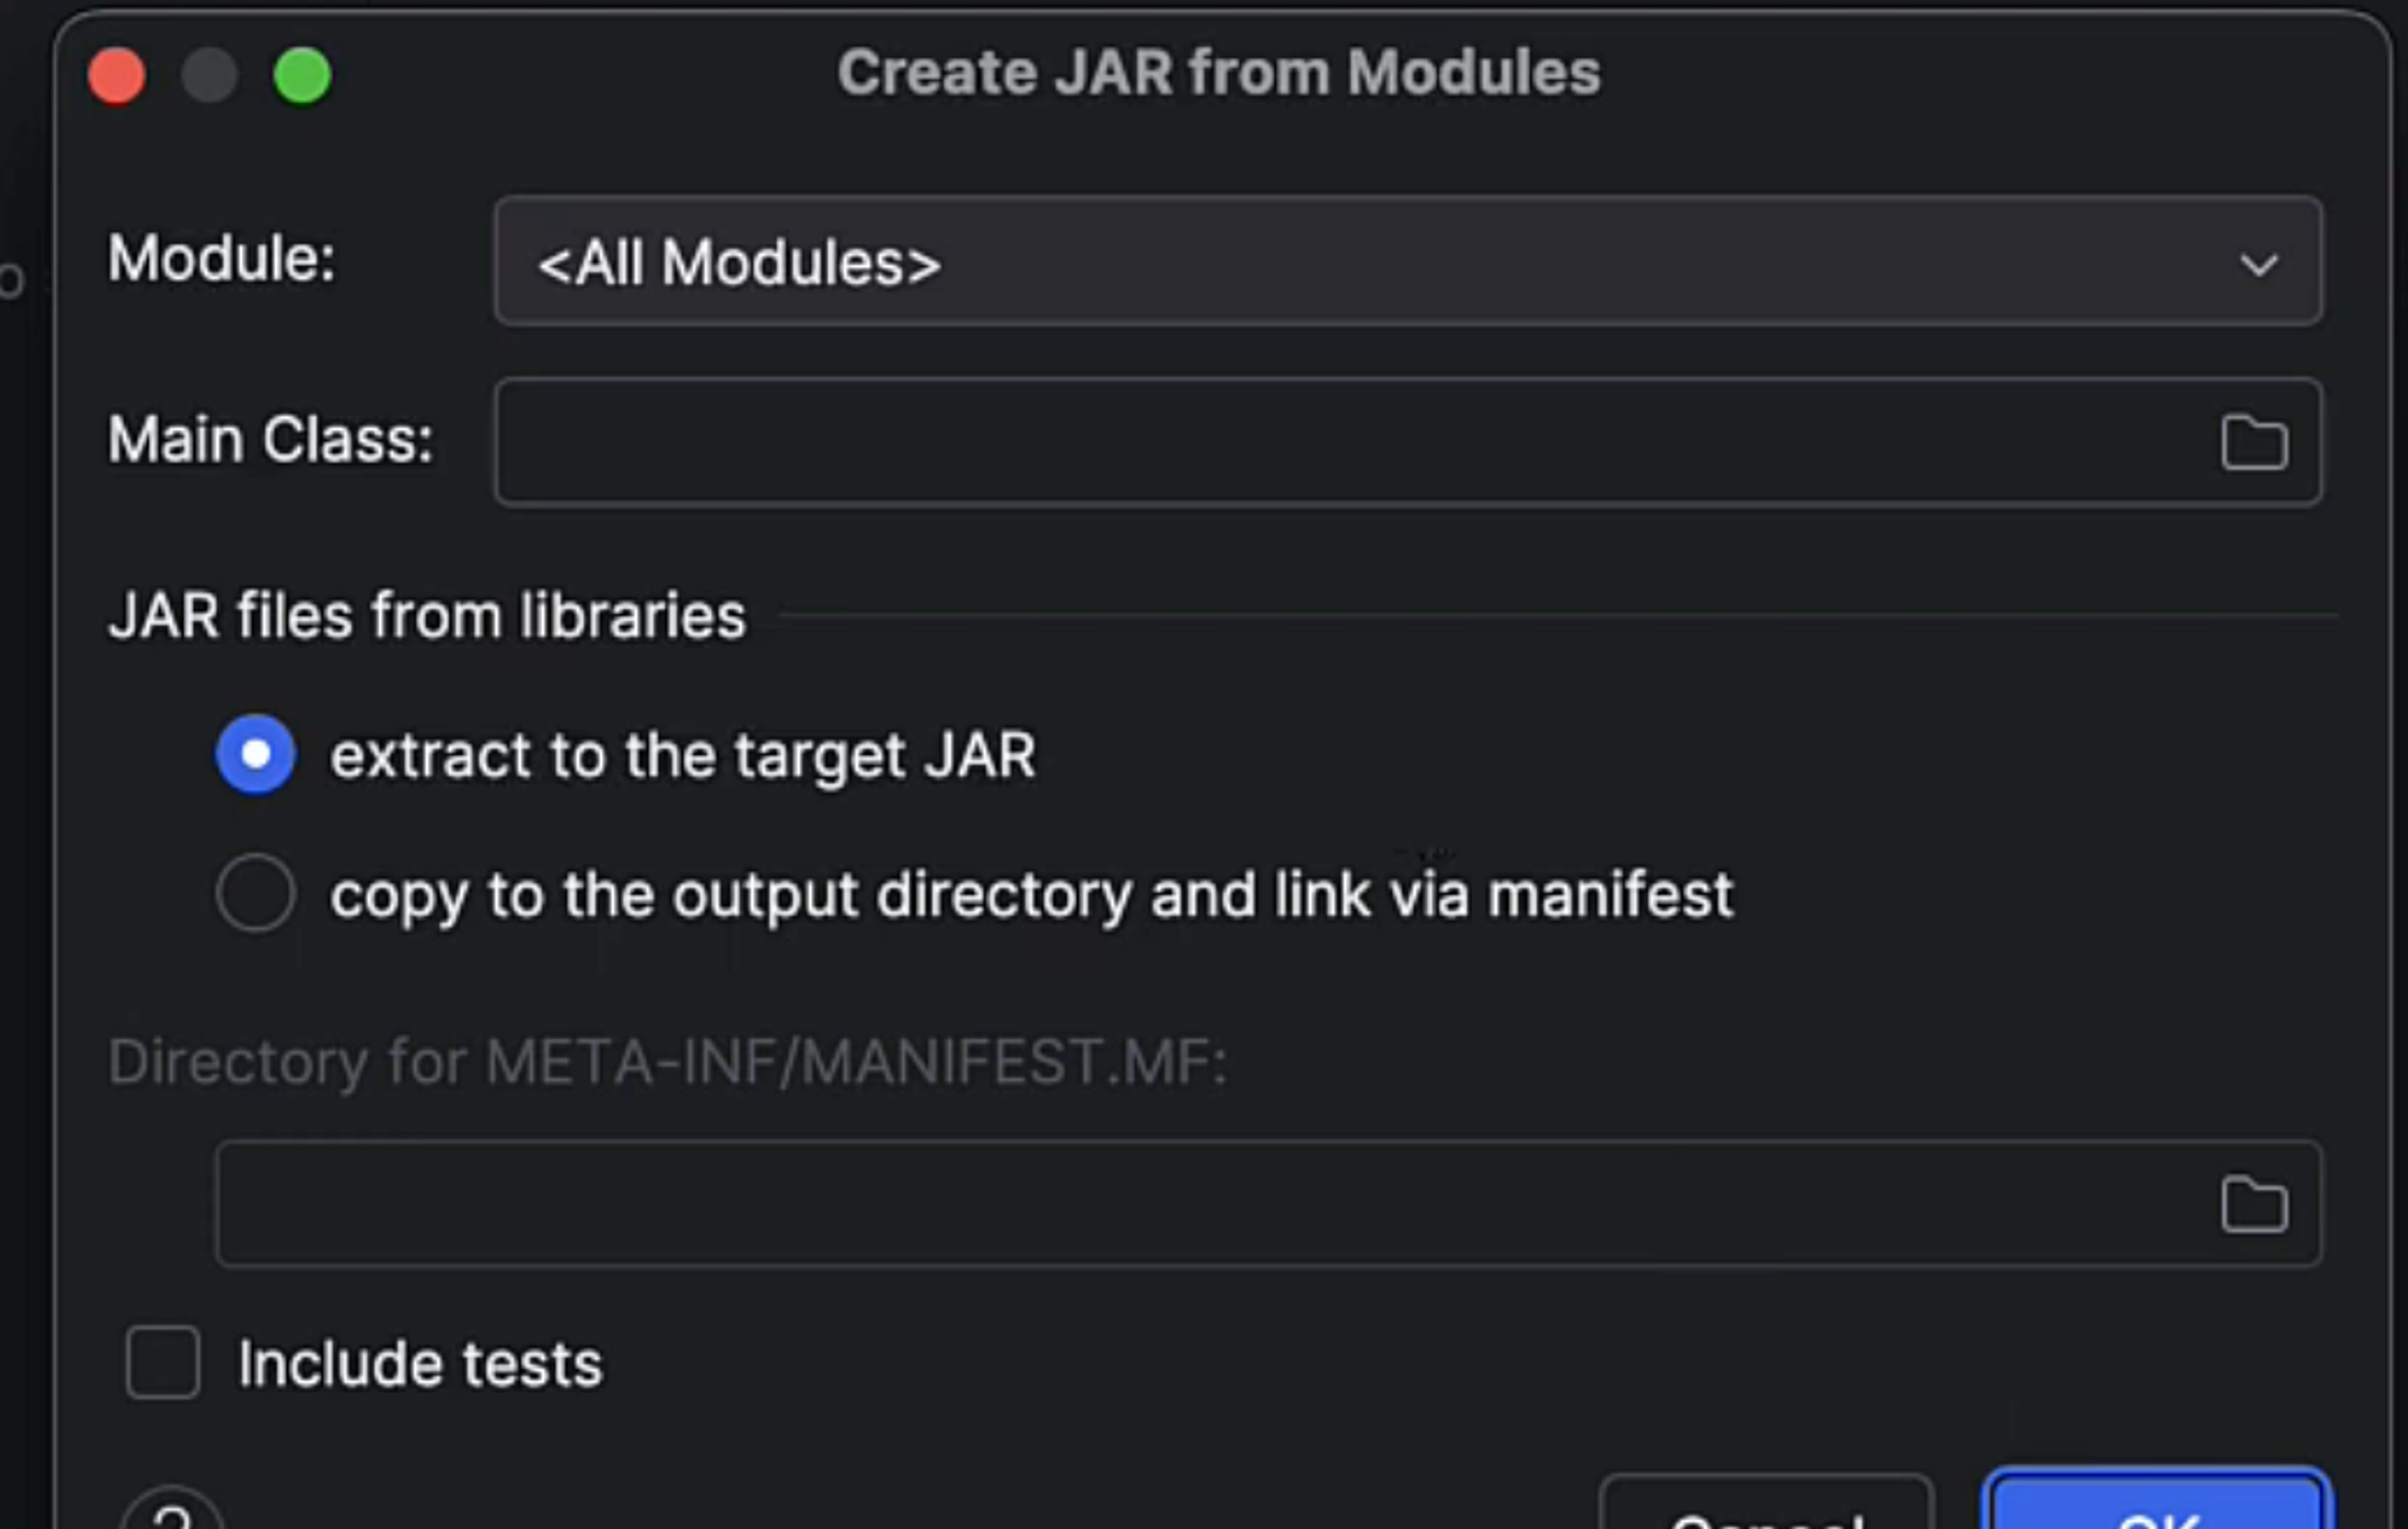
Make sure that the Output directory is where you want the final JAR extension files to end up.
And finally, ensure that everything is fine by trying to build a functional JAR extension file from the existing code. Go to Build -> Build Artifacts.. -> Build. Try installing this built JAR file into the BurpSuite software. If no errors occur, everything is fine.
Learn to hack — start here
Hundreds of interactive courses, virtual labs and CTF challenges in your browser. Start a free trial — no card required.